D.R.A. #2: Testing HP5 'exposure latitude'
or how I messed up my development big time
Second delivery of the (D)ark(R)oom (A) dventures saga. First one here :)
So, from the official Ilford photo website:
It’s [HP5+] wide exposure latitude makes it a great choice for beginners, those returning to film as well as the more experienced professional users.
With wide exposure latitude, Ilford says that you can meter HP5+ from 400 to 3200 ISO1. Great, it's like you have it all in one roll, which is exactly why I love this thing so much. It can handle sunny days and midnight shots, of course, depending on which ISO you tell your camera (or hand-held light meter) you have there.
In plain English, exposure latitude is a metric of how much you can mess up your exposure and still get away with it (meaning, to get an "existing" photo). For that reason, some people call film stocks with wide exposure latitude a "forgiving" film, and apparently, it is common knowledge that HP5+ is a rather forgiving one. So, let's find out.
But wait, all this sounds very scientific and cool, but in reality, I just massively messed up my development, and here I am just trying to disguise the disaster under a wanna-look-smart blog post, so I am warning you not to be fooled (!).
Unfortunately, before we begin, there are a couple of terms I need to present before going over what actually happened, so bear with me. I promise some pictures along the way (however, I am not promising actual good ones, so you're on your own now...)
Why Pushing film?
If you know what the expression pushing film stands for, you can skip this part, but the whole idea is that you can pretend your film has a higher ISO (sensibility to light) by underexposing it while shooting and then compensating for the lack of light in "post" by "overdeveloping" you film.
But the big question is, why would you even do that? Well, there are multiple reasons; here, I will list some of them.
First reason: Low-light situations
What I normally do is to shoot Ilford HP5+ at 1600 ISO which is technically underexposing it two stops since HP5+ is rated as a 400 ISO by Ilford. This is also what the cool people call the "box speed" of the film, which is nothing but the recommended ISO by the manufacturer.
However, a film’s ISO is just a social construct, making the box speed just a mental barrier. In the end, you paid for this little thing, so you can do whatever you want with it. I've even seen people rating the film at ISO 5 (yes, five), but before doing such crazy extravaganzas, make sure you kind of understand what’s going to happen with your emulsion.
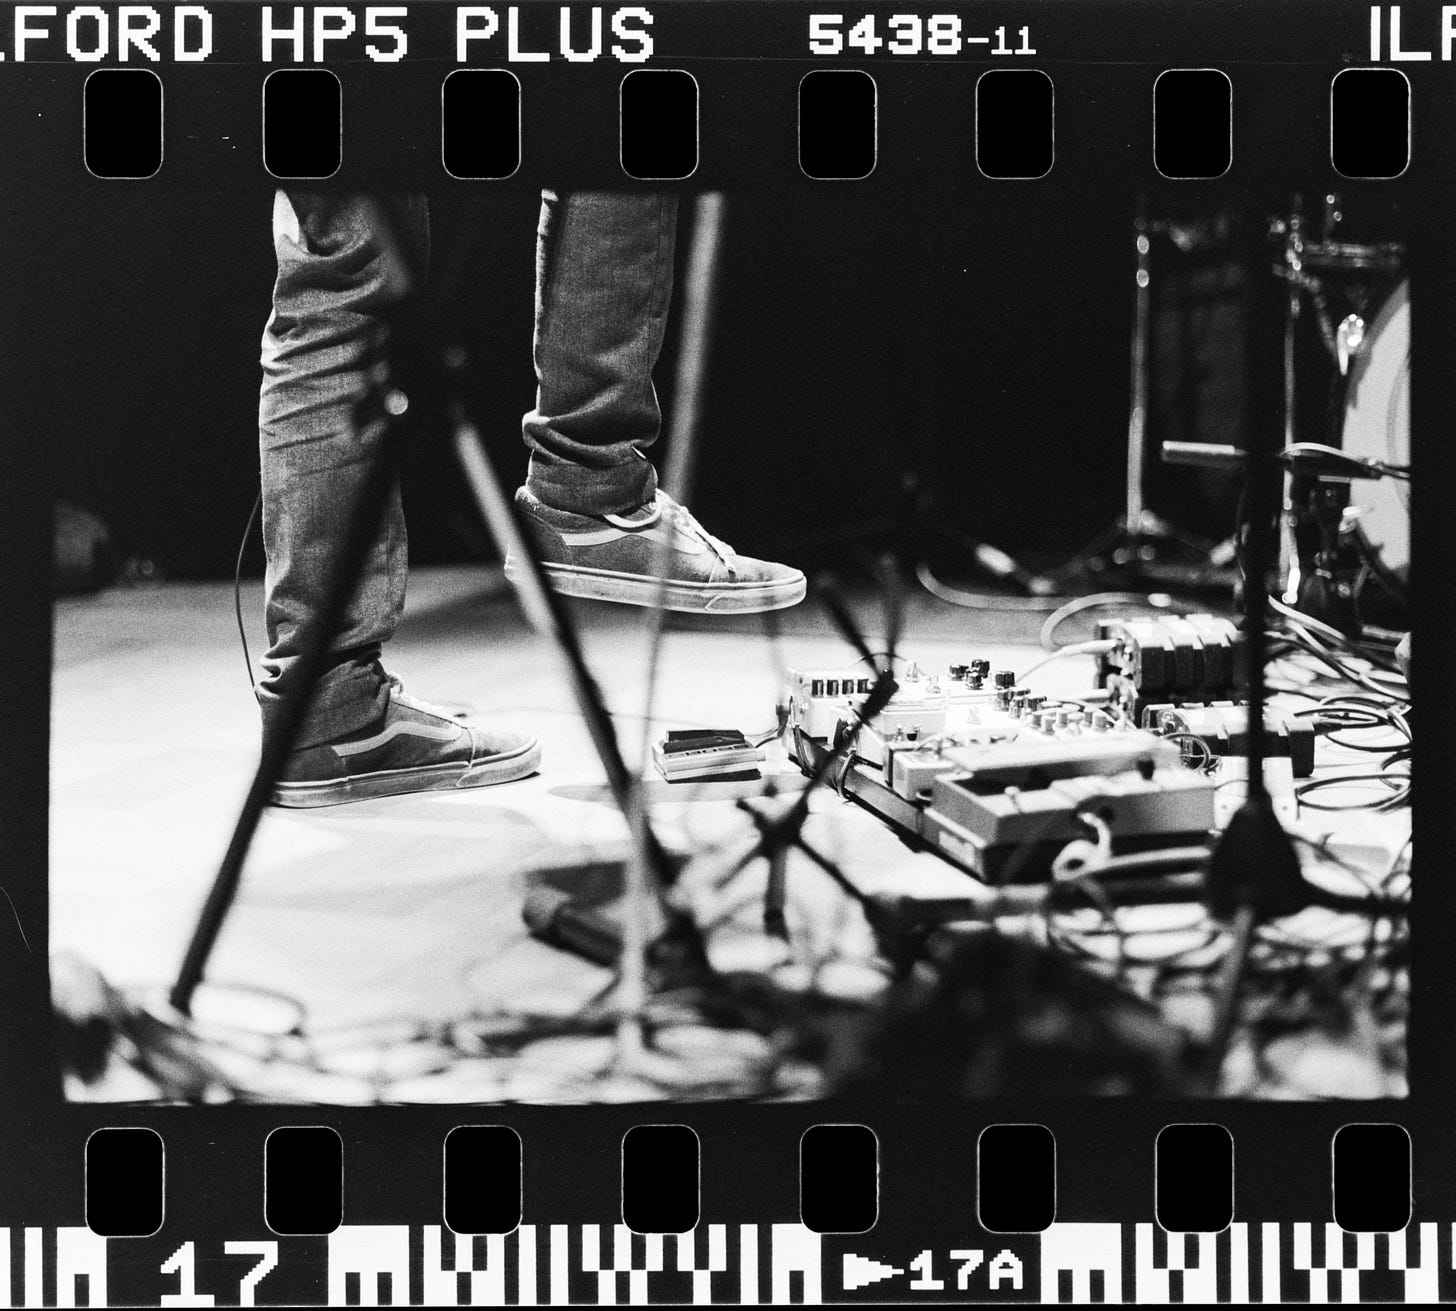
Normally, I push HP5+ when shooting during the night or indoors, as I need those extra stops of light so I can run away from the danger zone of 1/15 or 1/8 shutter speeds2. For instance, the shot shown below was taken during an indoor Jazz session in which I stayed the entire night shooting at f/2 with either 1/60 or 1/125. So those two extra stops of light (rating the film at 1600) —literally— made the shots possible. Otherwise, I should have taken the picture at 1/15, which might have created camera shake or even distorted the subject because this guy was, of course, moving while dropping an insane trumpet solo.
Also, in general, I do not have anything against a blurry shot (or a Blurryface) as long as it is intentional, which is something I also do sometimes. However, I want them to be actually intentionally blurry and not simply a limitation of the gear/film speed I am using.
For instance, the shot below features a carousel and several subjects moving from one side to another. Funnily enough, it was shot at 1/40, but I did not stop walking while taking it, so I got this dreamy (nightmarishly?) effect I was searching for.
Second reason: Simply for the look of it
When pushing film, you have to extend the time you expose it to the developer, which will affect the final image by making it grainier. Also, some details in the shadows might be irrevocably lost. Depending on the developer you are using, the grain prominence will vary. I don't know much from experience, but at least that is what The Film Developing Cookbook states.
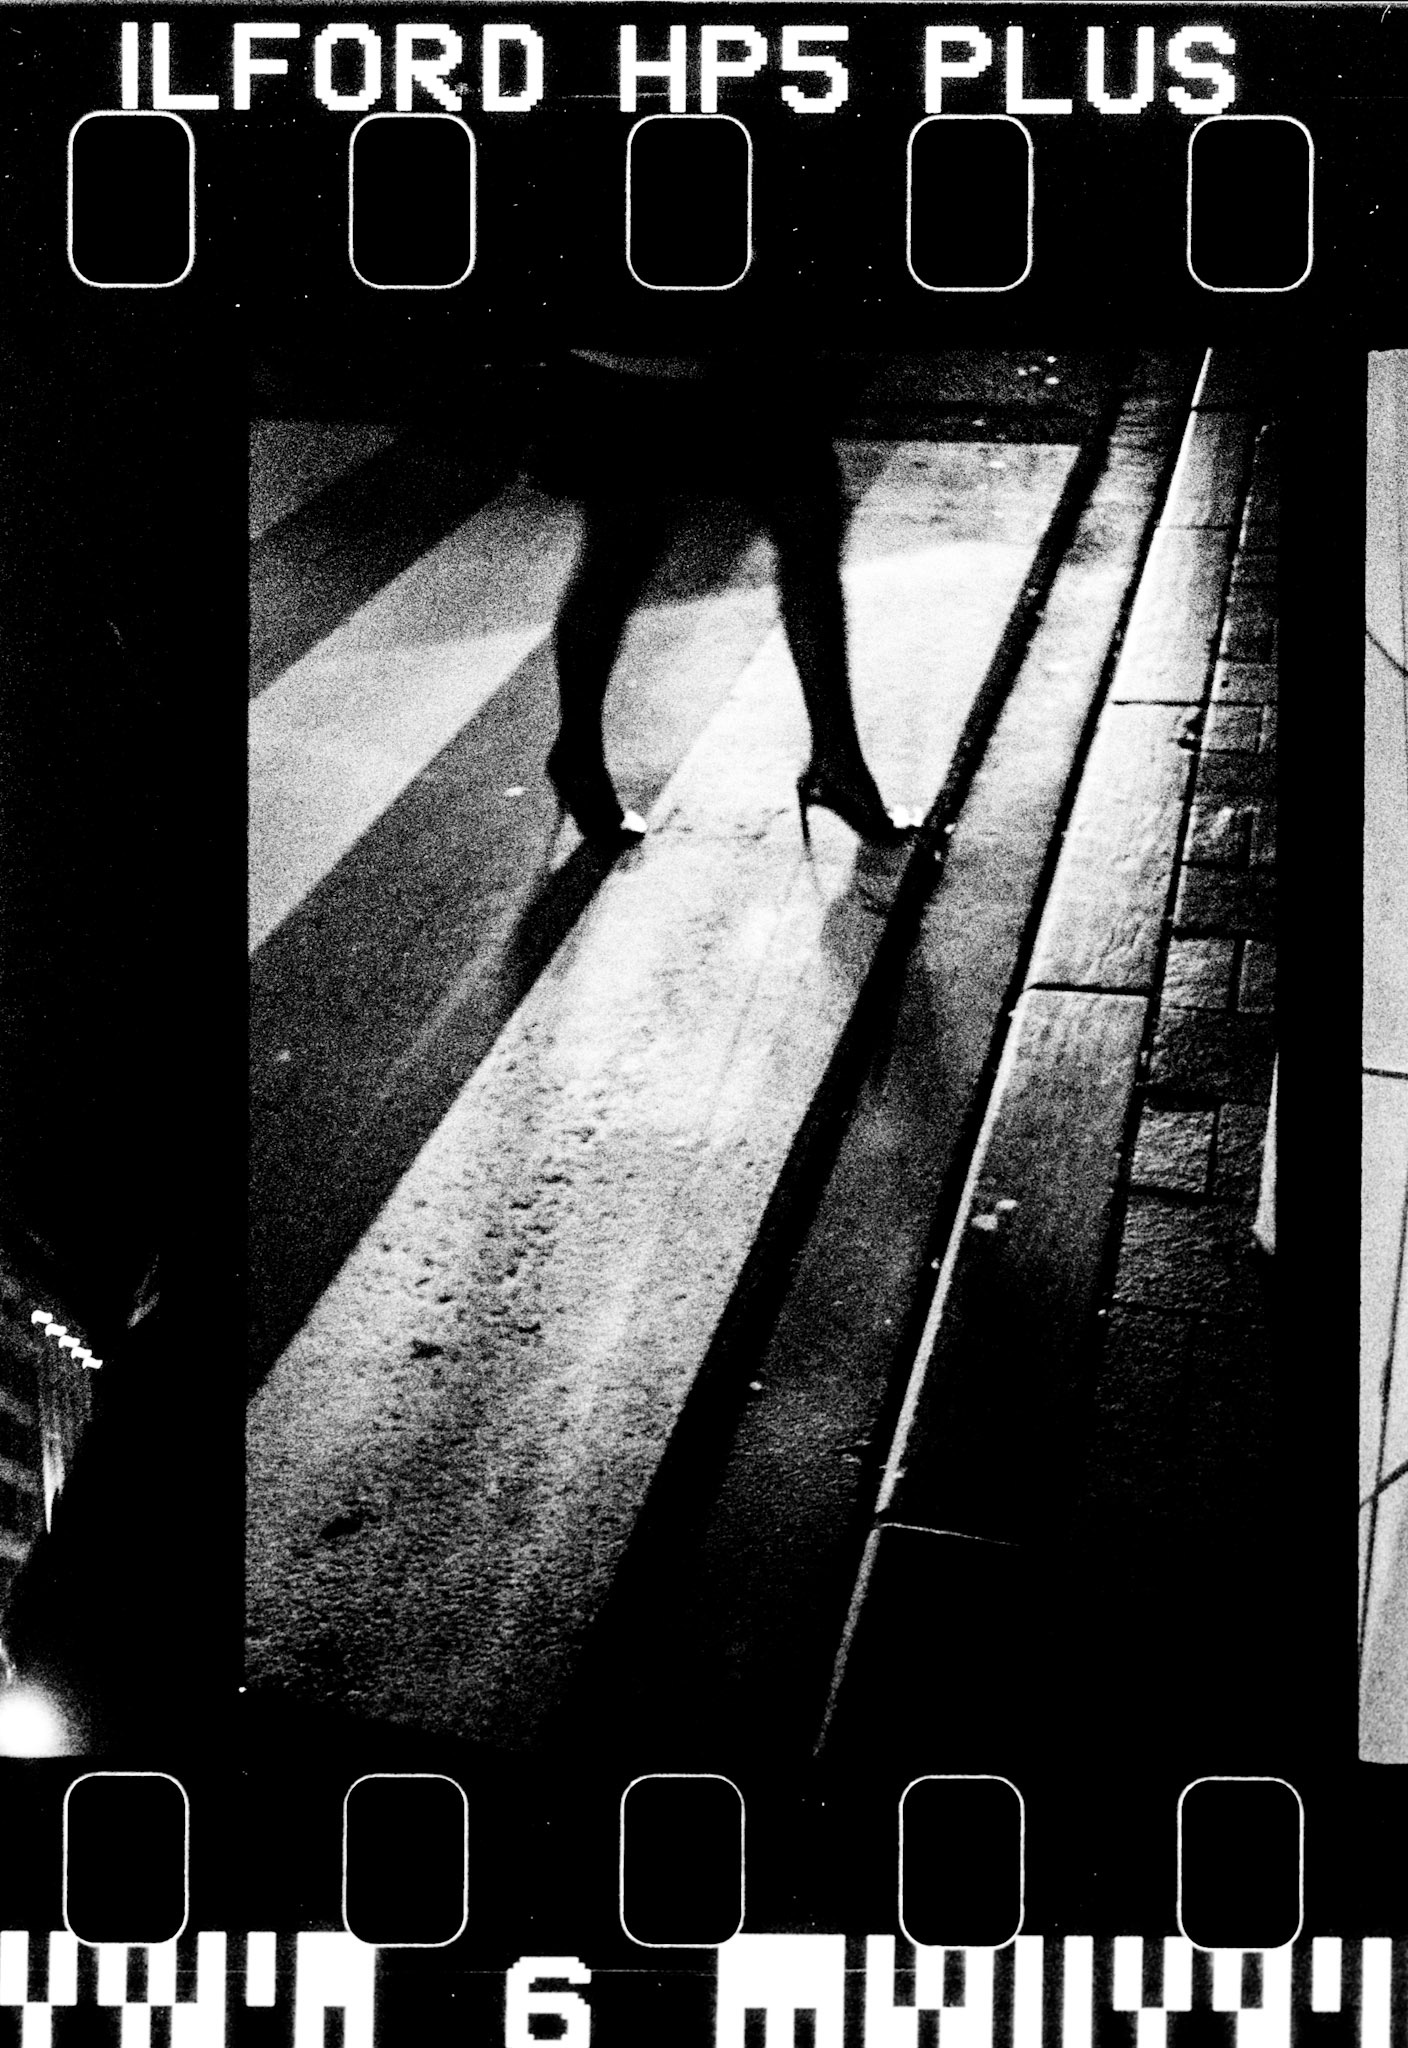
For instance, the shot below gives you an example of how grainy this can become and also how much detail in the shadows will be lost: the legs have no texture.
Technical note: If you are wondering why the last two photos look significantly grainier than the first one, even though there is only one stop difference in the developing process, it is because the last two images were taken using a half-frame camera and the first one a conventional 35mm camera (hence the difference in layout of the sprockets, too).
Anyway, I got distracted. The thing is, I want the images to look grainier because I like the texture they produce. On the contrary, if I wanted a clinically clear, noise-free image, I would be shooting a drastically lower ISO (around 100) or even just using my digital camera, which is collecting massive amounts of dust on the shelf.
The disaster begins
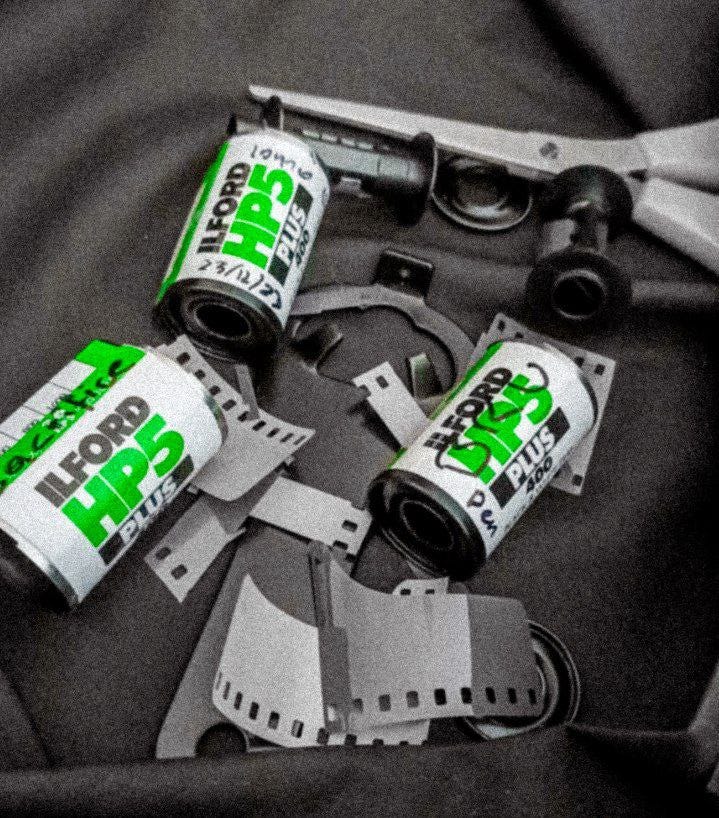
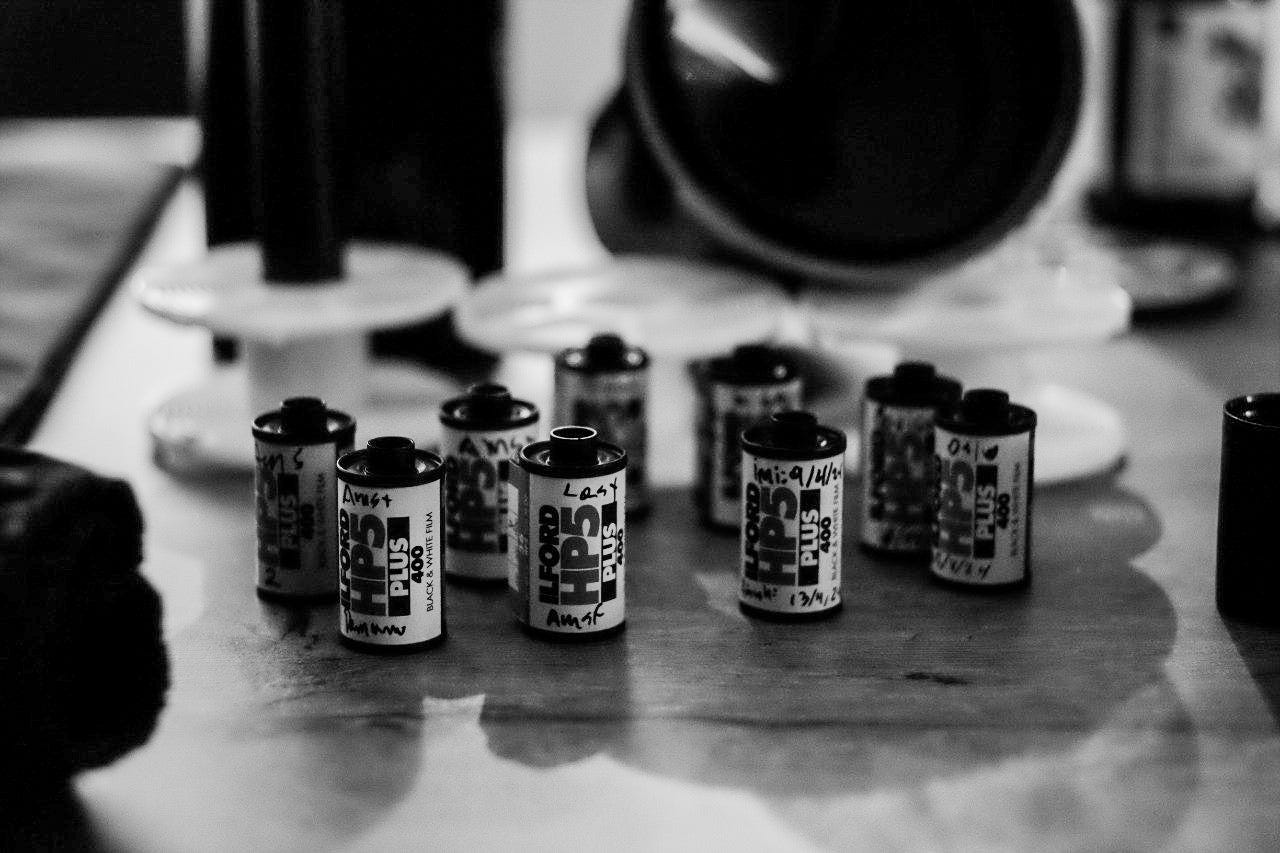
Now, after this brief explanation of pushing film, it is important to know that when doing it, you should label your rolls so you know later how the roll was shot to develop it accordingly. Of course, I once got them scrambled and ended up with two rolls, one metered at 400 and the other at 3200, that looked exactly identical. Needless to say, I was panicking.
Additionally, I normally do not shoot at either 400 or 3200, but at 1600, so I needed to wait until, for some reason, I decided that it was a good idea to use 400 or 3200 again. Then, a solution my friend Roelan (@roeland_hens) gave me was to cut a small strip of one of the rolls, load it into a reel, develop it, and see which roll it was by the look of it (later, I discovered that this is commonly known as the clip test). A brilliant idea that intended to save the most number of frames out of both rolls. In the end, if you pick up incorrect film for the developer, I would be ruining some pictures, but then you know and can develop the rest correctly. Again, it was the safest and smartest thing to do....
However, when I started developing, I remembered this highly quoted saying, "go big or go home", and since I was already home, I just went big by randomly selecting one roll from the scrambled ones and spooled the entire thing into the reel, crossing my fingers hoping for the best. Clearly, you can already imagine what happened. Too bad…
The thing is, after I finished developing it, I took the rolls out, and I saw that one of the rolls was almost entirely black (meaning that when it turned into a positive, it would be almost pure white), and then I knew I messed up. Oops.
Technically, I overdeveloped my roll by 3 stops since it was metered at 400 ISO. In other words, my film was correctly developed after 9 minutes in the tank, but I kept developing it for an additional 11 more minutes, so I ended up, technically speaking, overexposing it by 3 stops, which is a lot (maybe?).
The results
As I said, the entire roll was overdeveloped (hence, overexposed) by three stops. What you would normally expect is an almost entirely black negative, then an entirely white one when turned into a positive image. Well, that was exactly what happened.
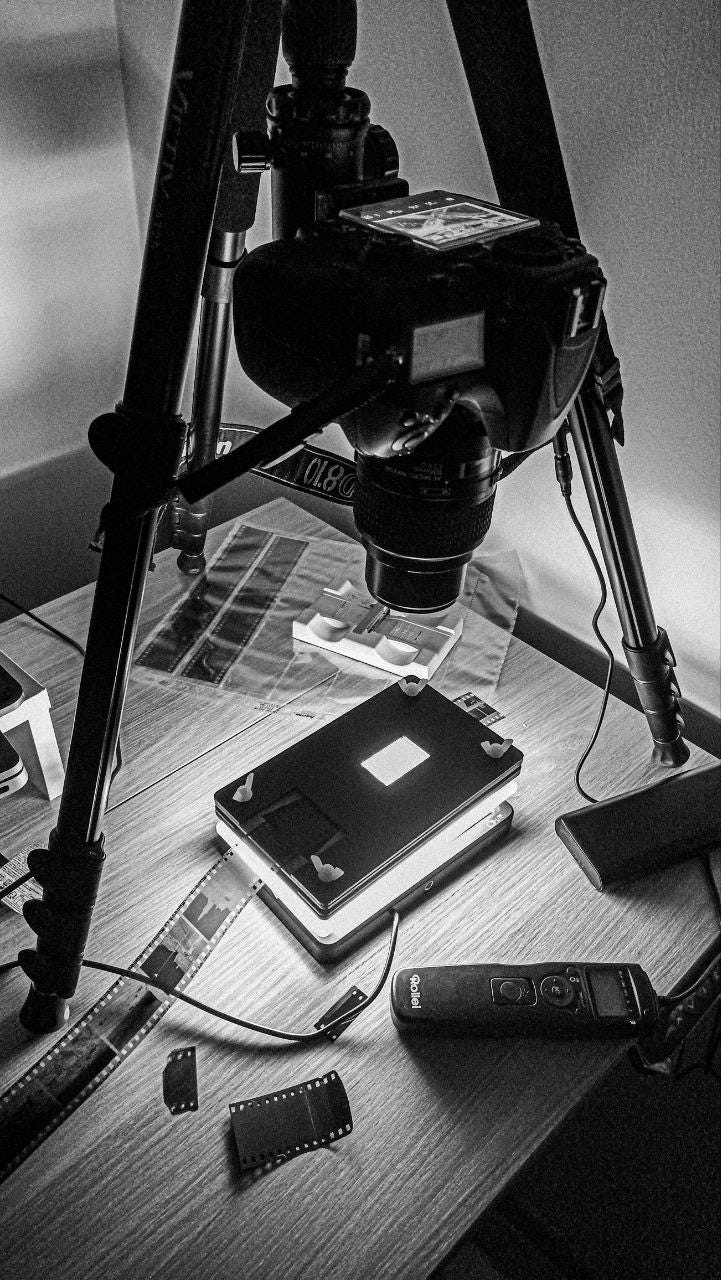
However, since I scanned my own film using a digital camera + a macro lens, I still had some hope... I figured that given that I had overexposed the scans of the negative 3 stops, I could underexpose it 3 stops when turning it into a positive image and be able to see SOMETHING… maybe. I know this whole positive/negative is confusing, but trust me, it kinda worked out after playing with the curve tones extensively.
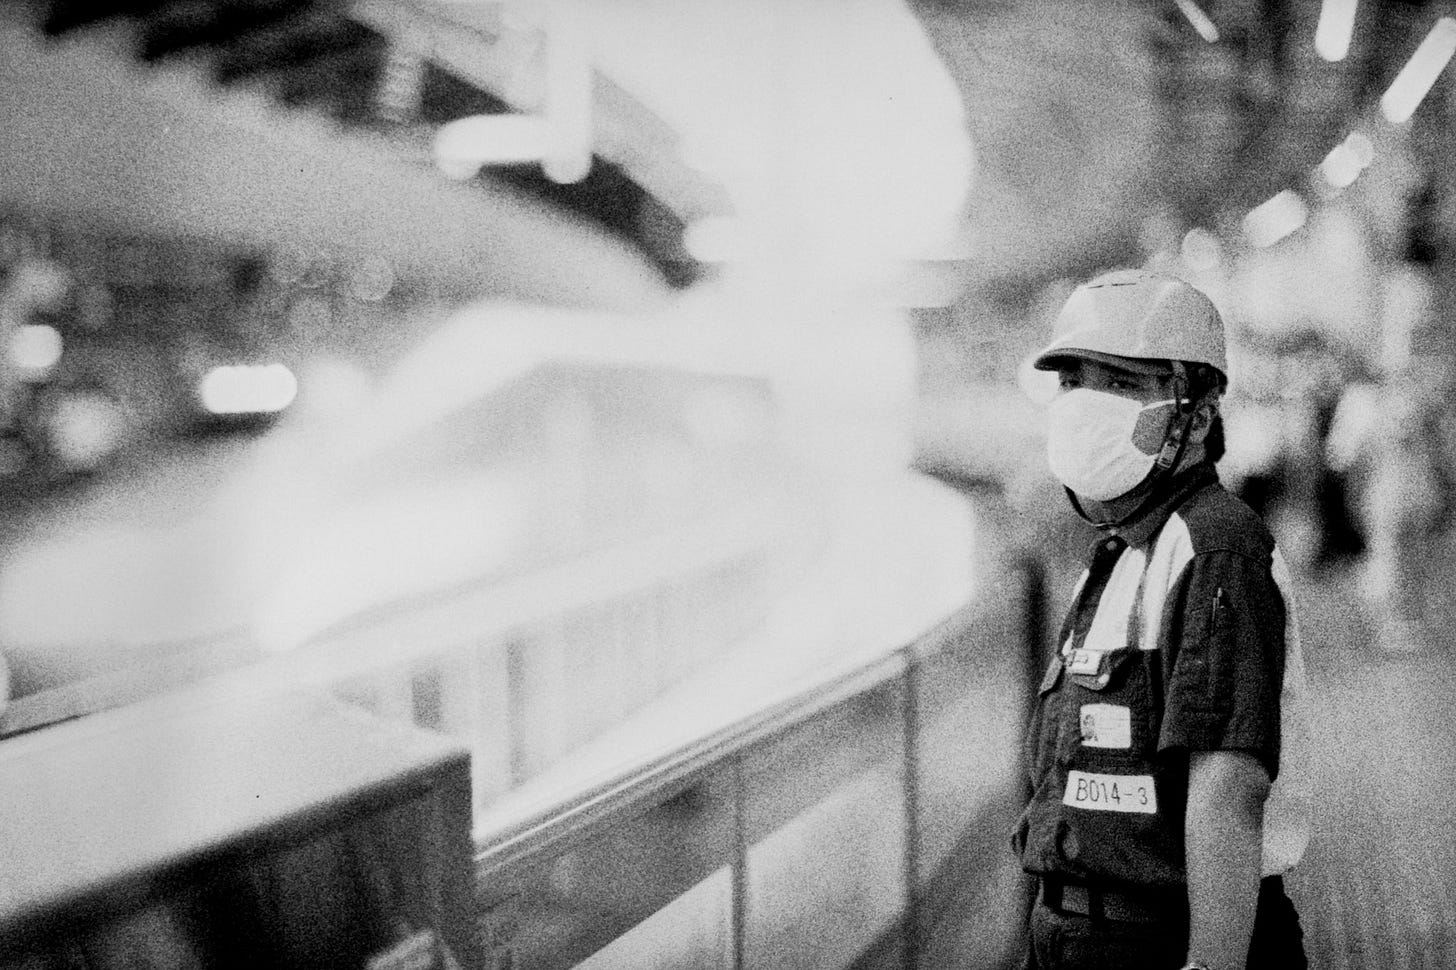
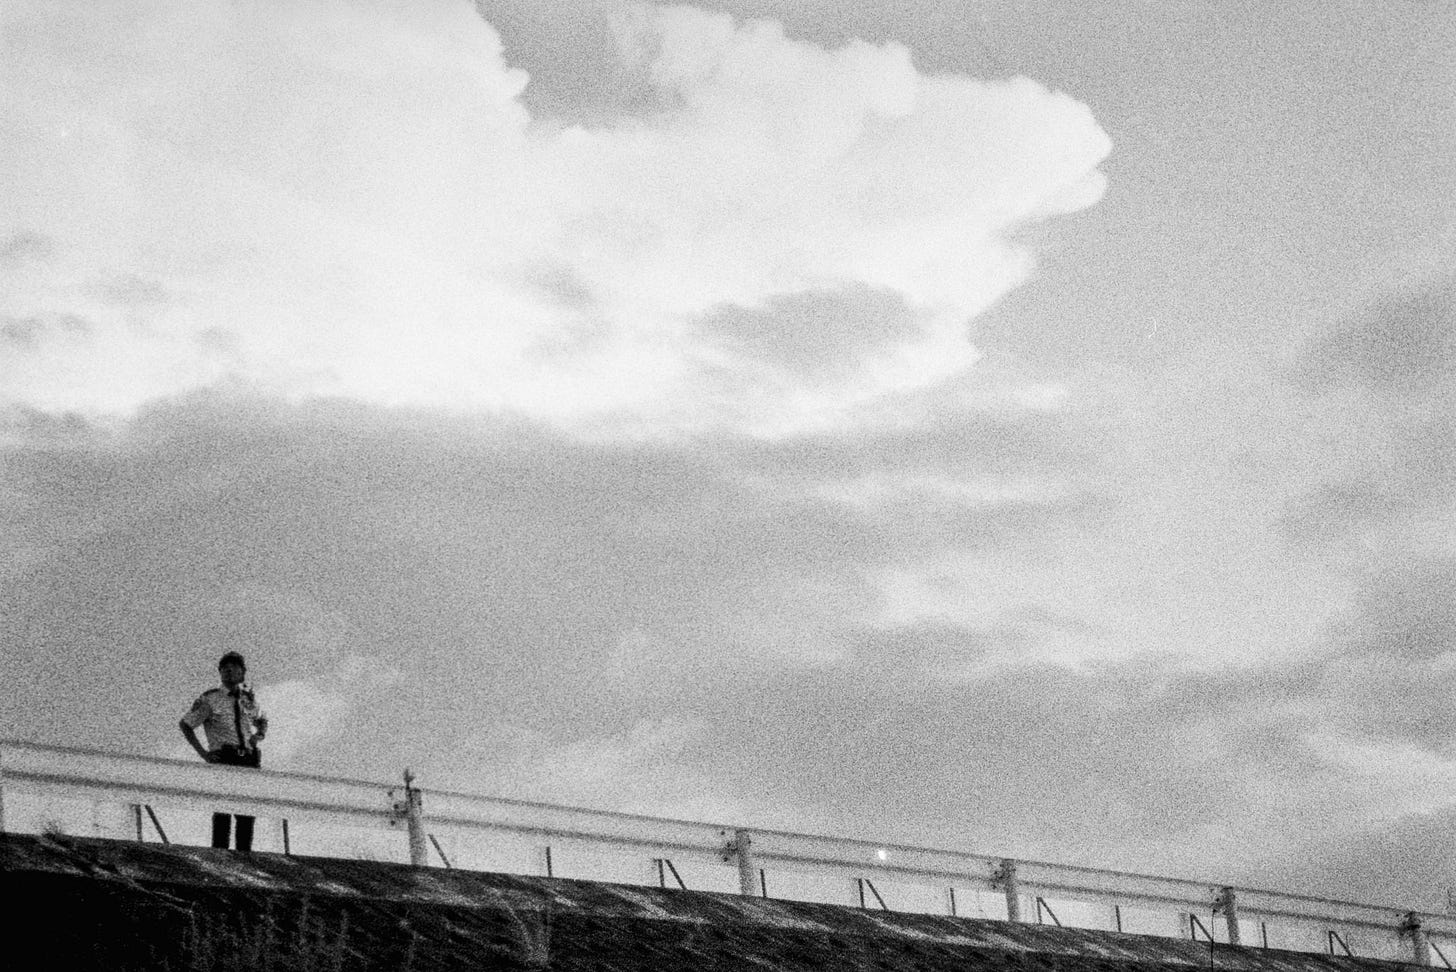
The image below is interesting for the "experiment" (or huge fiasco) because you can see a phantom Shinkansen in the back, almost absolutely blown out by the overdevelopment. So the negative lost all the details in the highlights. Also, the mask of the main subject looks incredibly white, but surprisingly, there is some texture there still. On the contrary, the shadows seem to have retrieved tons of details, which was expected because, originally, there was a lot of information there, and the over-development just made them even more prominent. We can see it, especially in the uniform’s fabric, even though he was back-lighted.
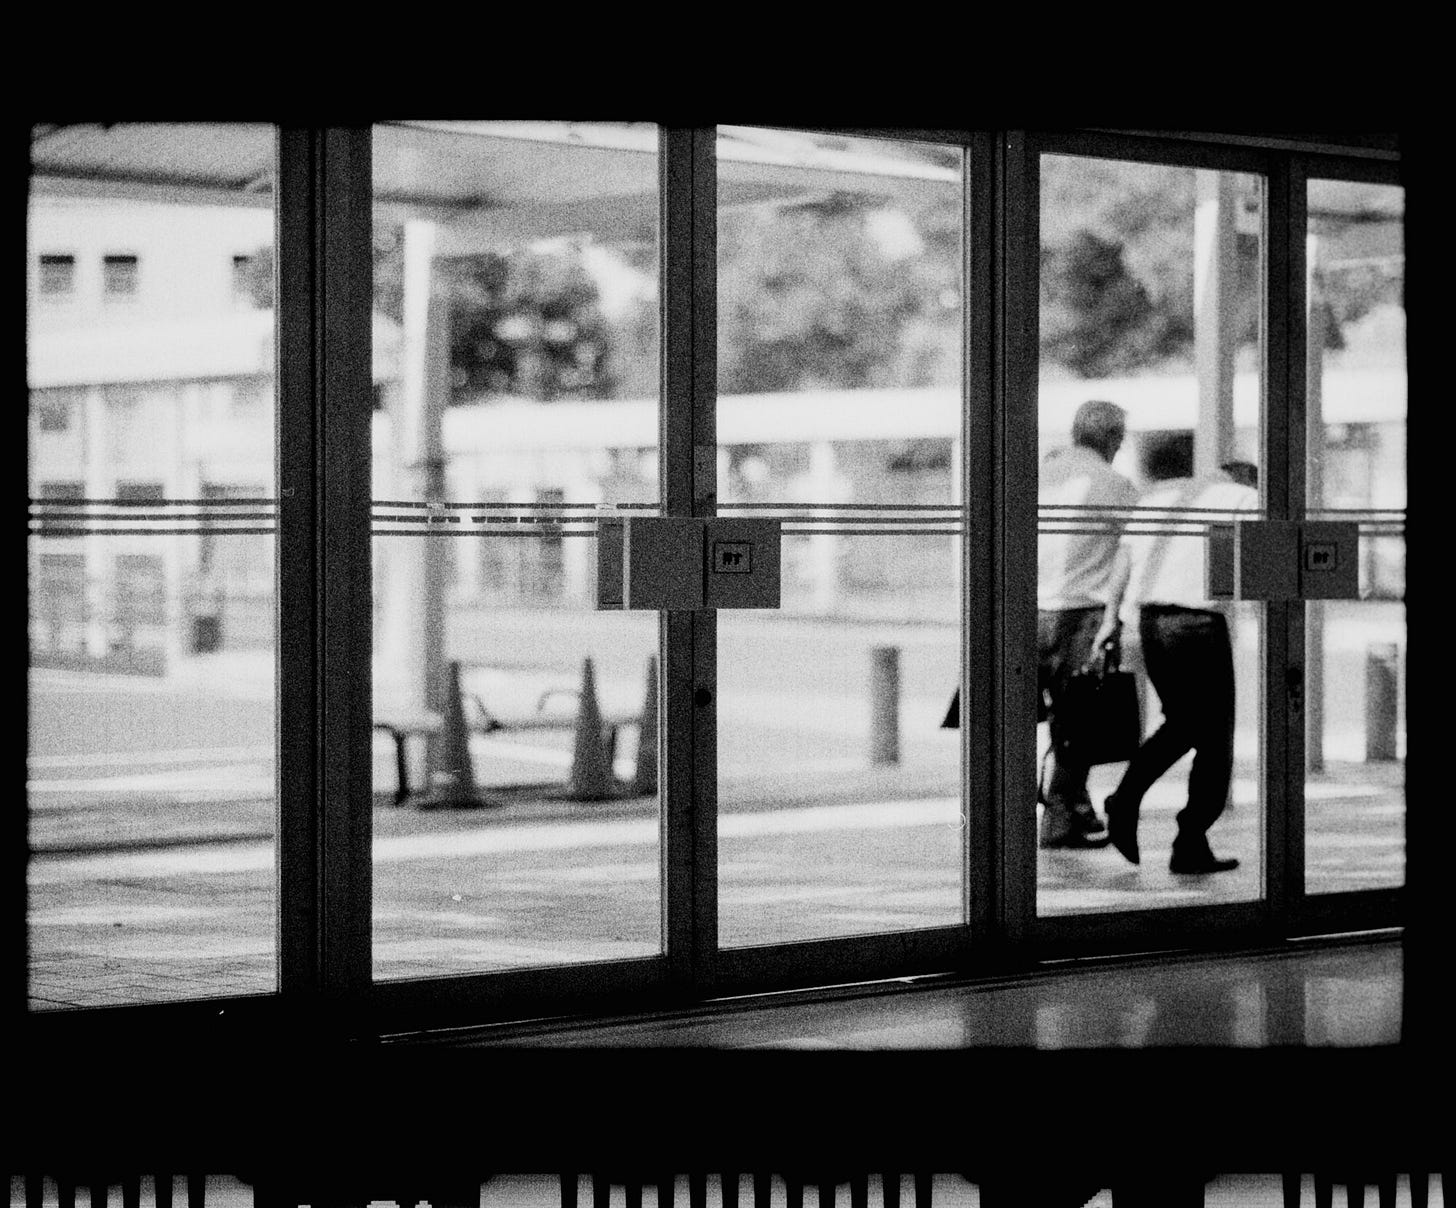
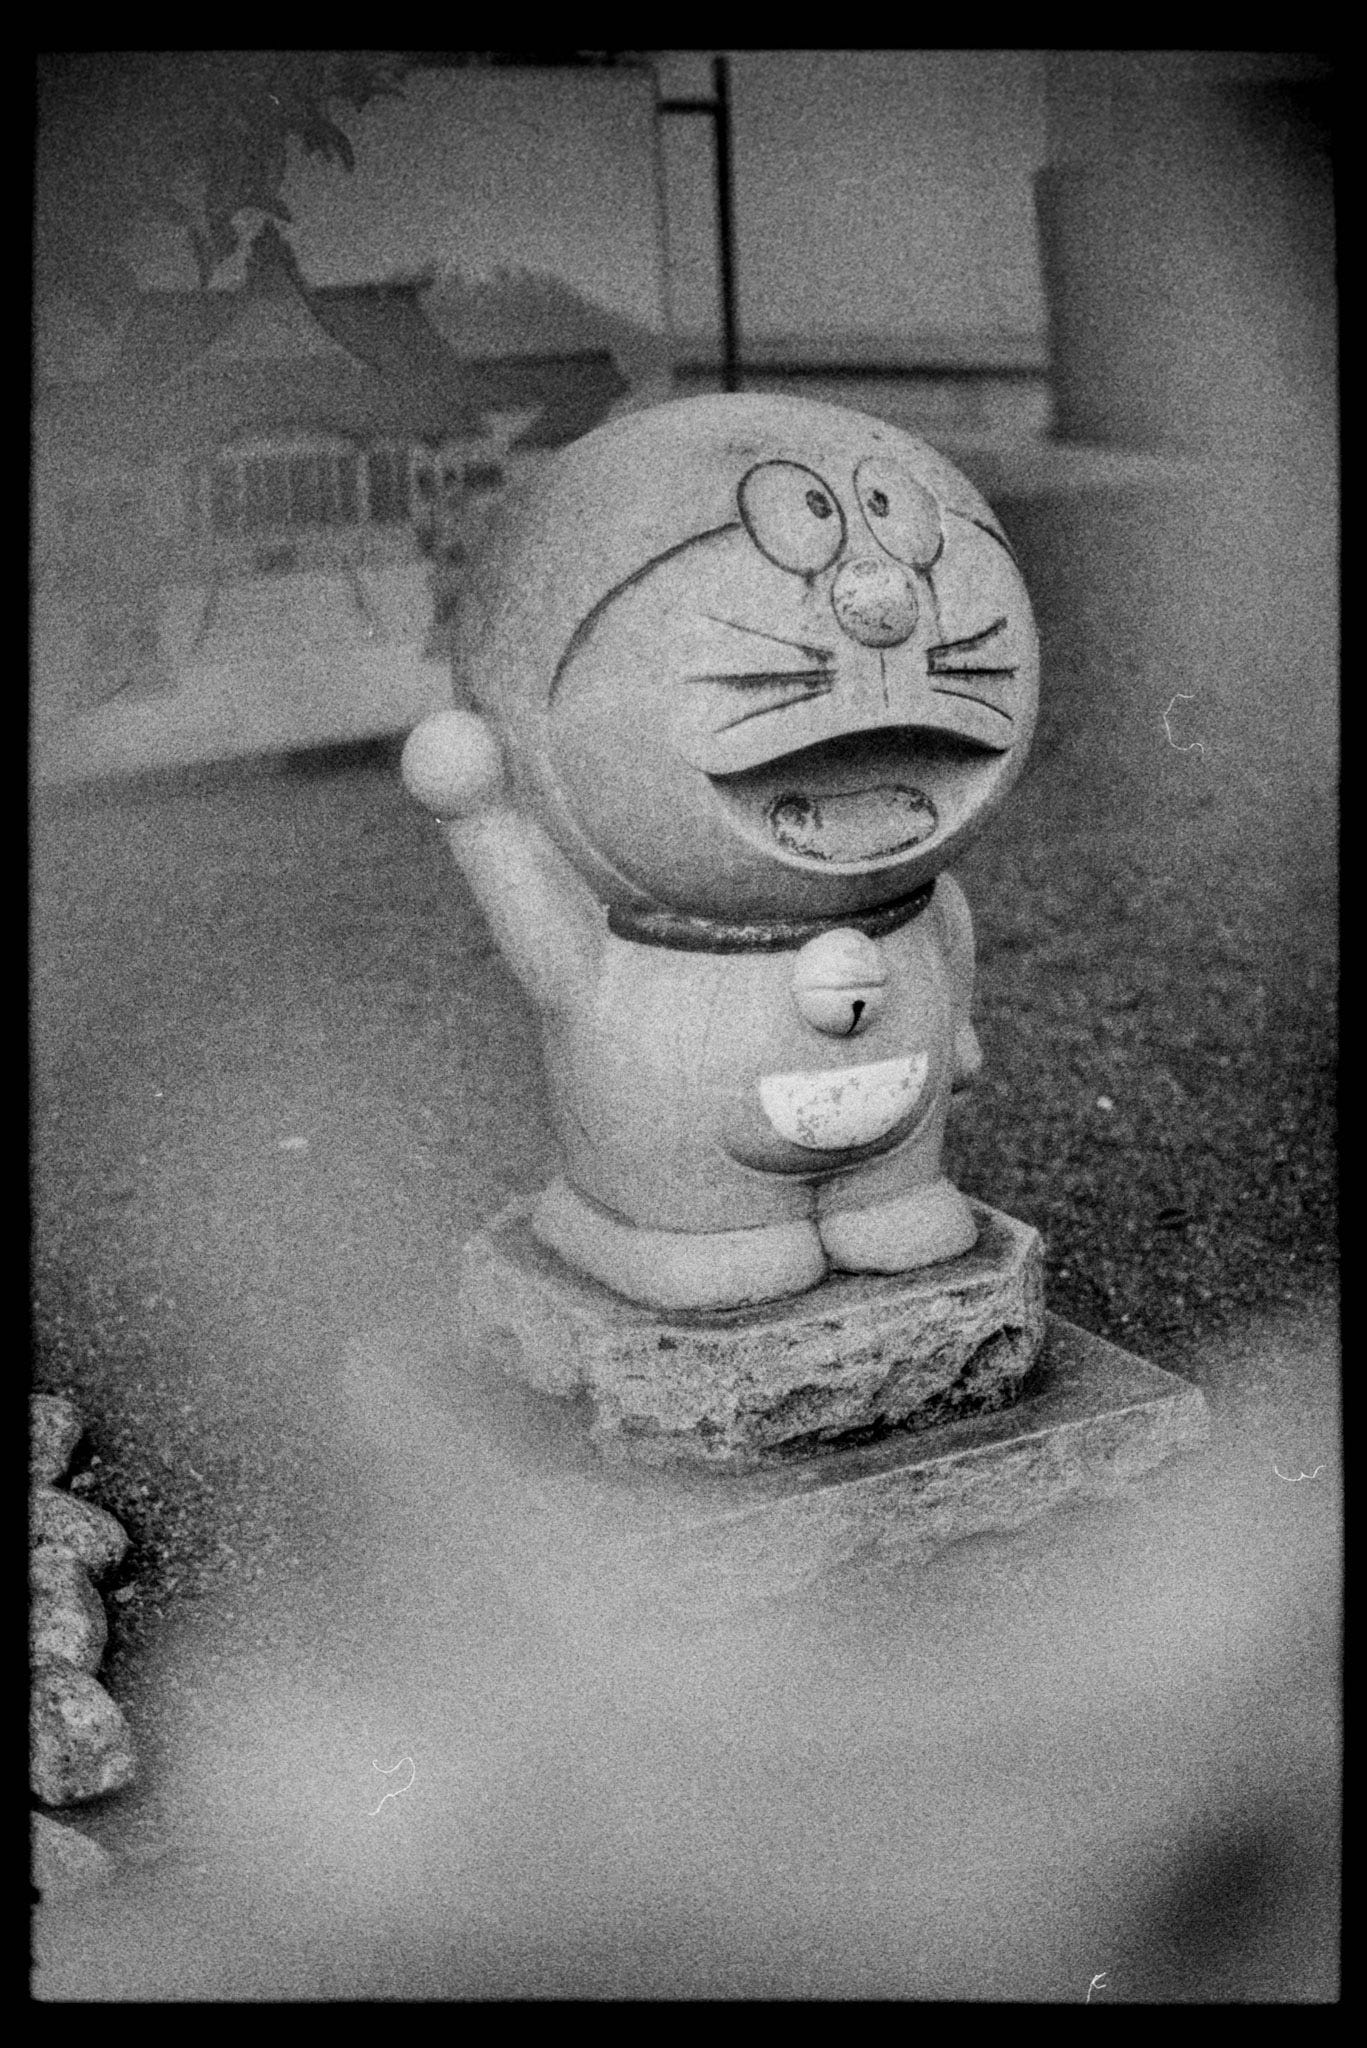
This next image does not look like it was overdeveloped by 3 stops, but it is probably because the original photo was underexposed, so lucky me. I (barely) remember metering using the aperture priority of the camera, which might have picked up the light from the outside, underexposing the entire scene, but the over-development created a somewhat balanced image. So, not all hope was lost. Also, I like this image because those two were talking and laughing their asses off, and that's why one of the guys is doing this weird pose.
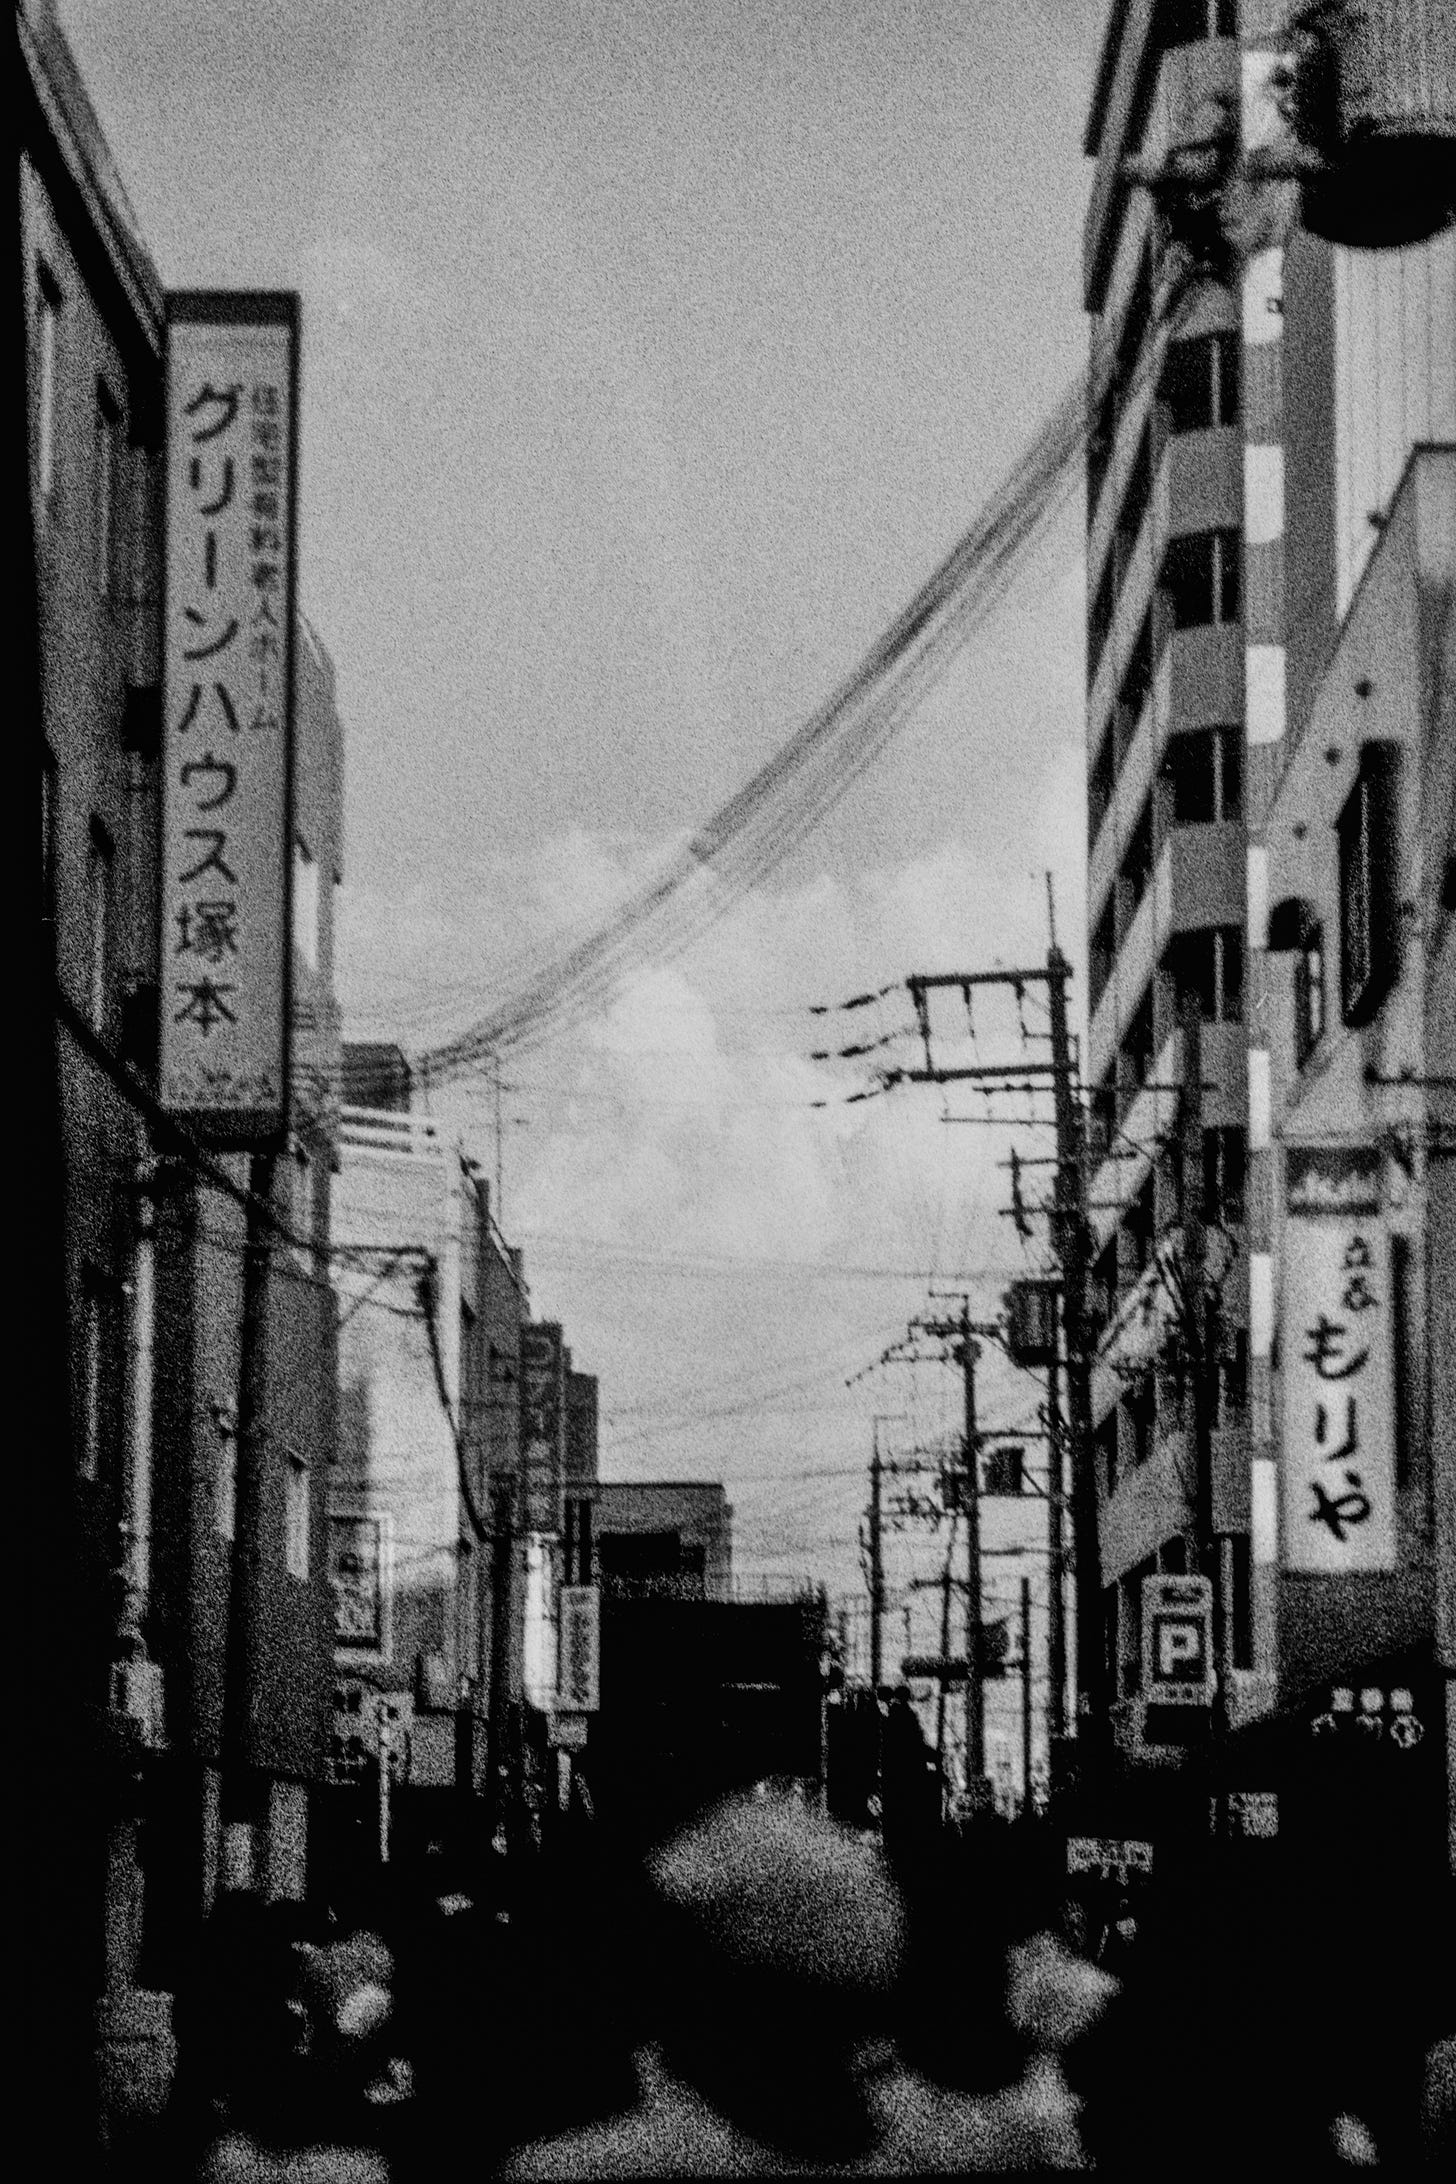
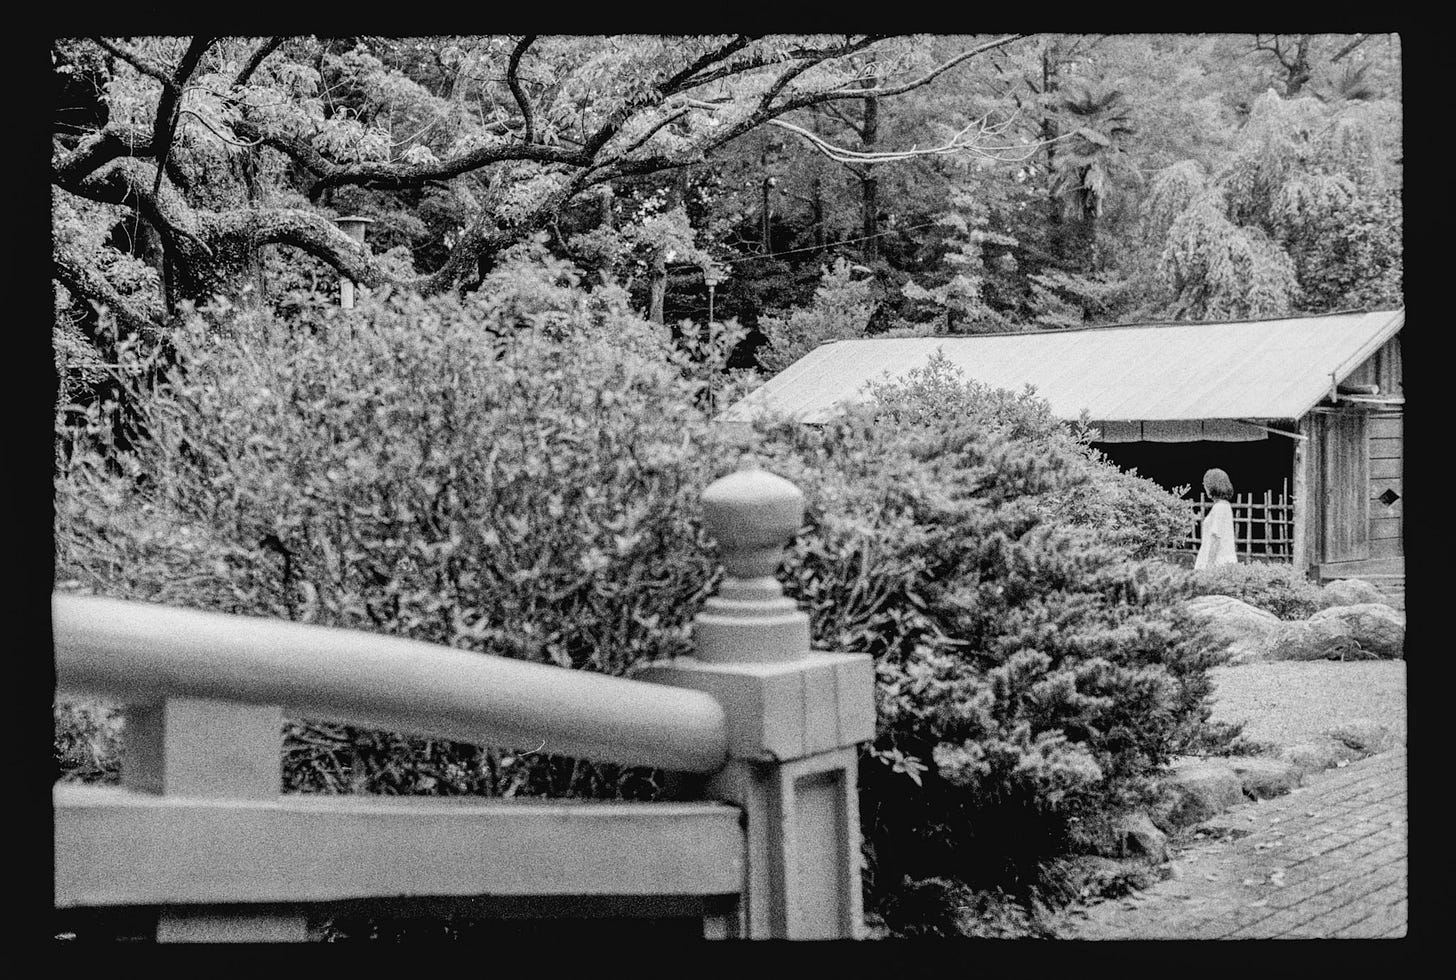
Below I’ll leave you some shots from the same overdeveloped roll.
All the shots, even though they exist and even have some details in the highlights, look rather flat because I needed to reduce the highlights a lot to retrieve something there, which prevents the image from having “pure” whites.
A brief word on HP5+ pushed correctly*
It’s been a long post, but if you’re still hanging in there, I would like to briefly comment on how incredible this film stock is (when correctly processed).
As I mentioned, I usually pair HP5+, metered and developed at 1600 ISO (a.k.a pushing it two stops), with ILFORD DDX, and it would not be an exaggeration to say I am rather clinically addicted to it. Actually, I have been sticking almost religiously to this combo for around nine months already.3 Because the combination of film, developer, and developing process is a language in itself, I wanted to get the basics of it by intentionally sticking to this combo. Now, around 30 rolls later, I think I have picked up the basics of the HP5-@1600-DDX jargon, and I have quite a few things to say about it, but I will leave this for another day.
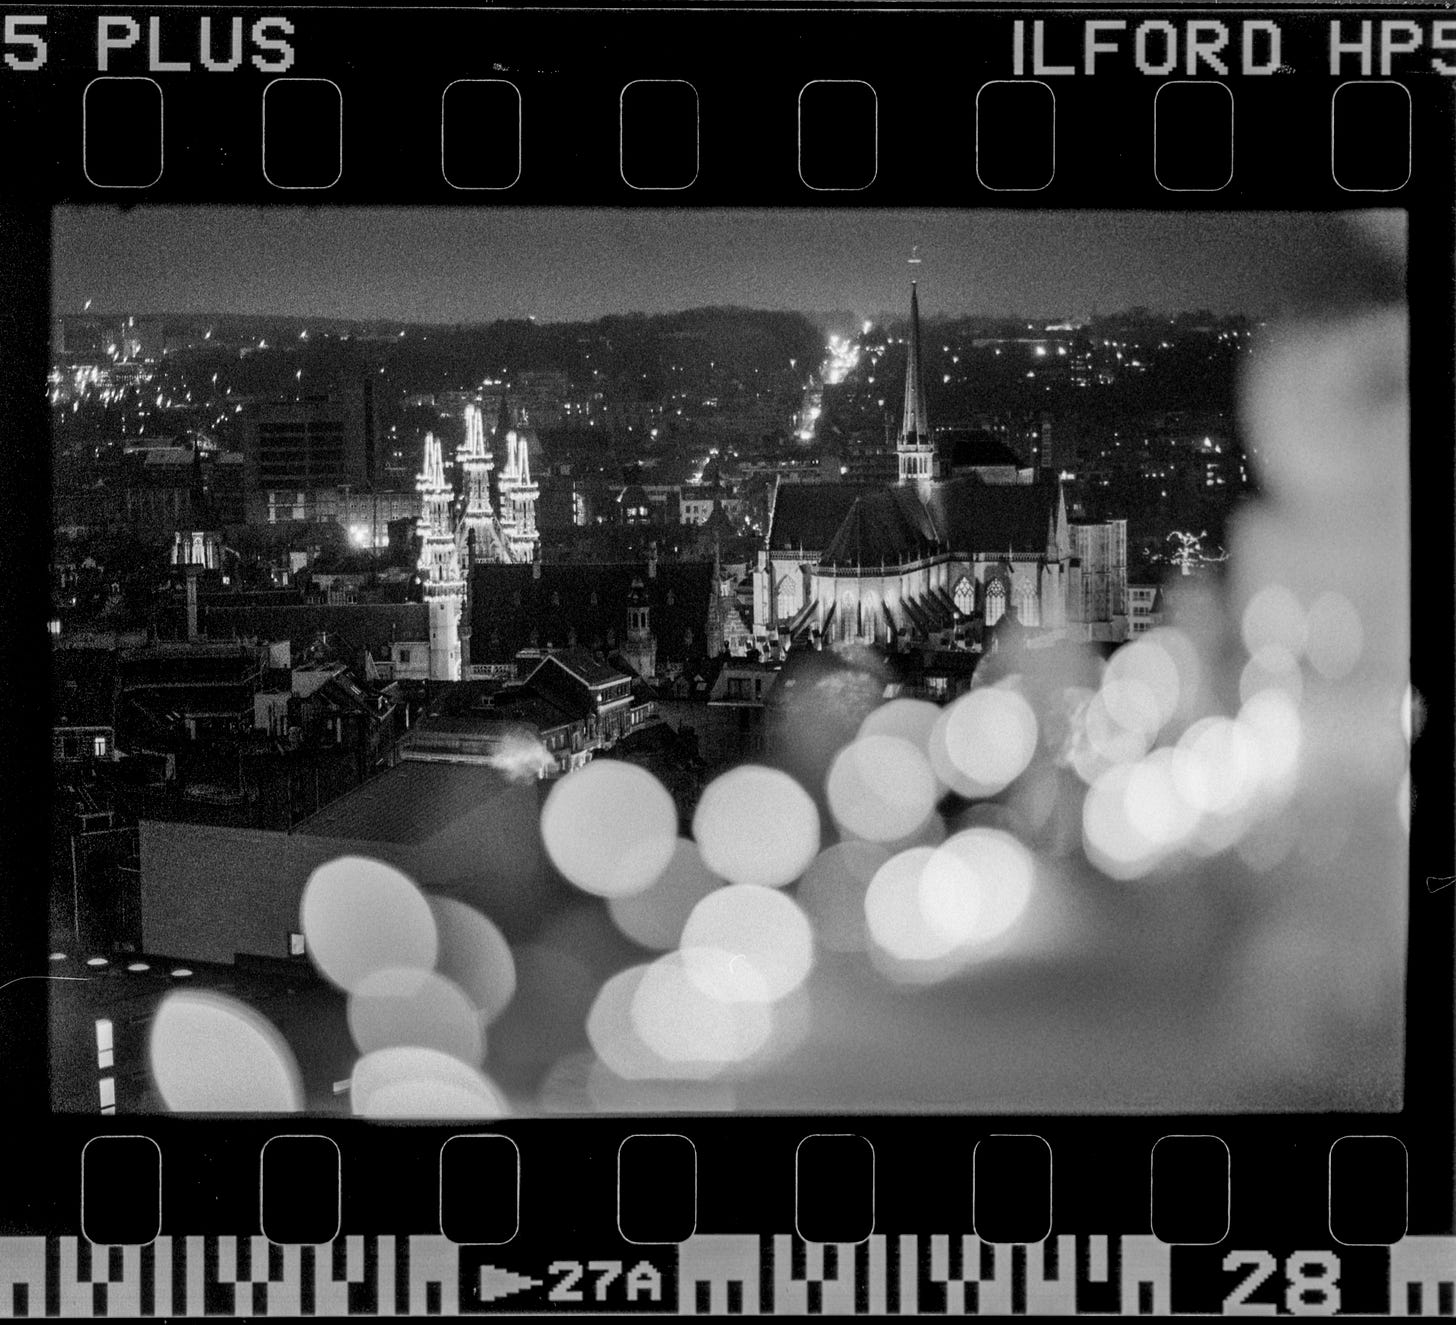
I will comment on one thing before closing though, which is that the shadow retention of HP5+ pushed two stops on ILFORD DDX is quite impressive for a pushed emulsion. I will leave some shots below so you can judge for yourself, but to my (rather limited) knowledge, these look pretty impressive. Also, I don’t know if I could get a grain this fine from another 400 ISO film pushed two stops.
The photo below is interesting because you can even see buildings despite the four or five stops of difference between the lights up front and the darkest parts of the image. This is some evidence that the dynamic range of the film is not reduced very drastically when pushed.
The next image is a different story. On this one, the shadow detail of the person’s coat is lost because it is out of focus. Conversely, the tower, being in focus, retained plenty of detail in the shadows.
It's the same story in the picture below, where the difference between the highlights and the shadow (extreme zones for the Ansel Adams' fan club) was very pronounced. Yet, there are plenty of details in both the shadows and the highlights.
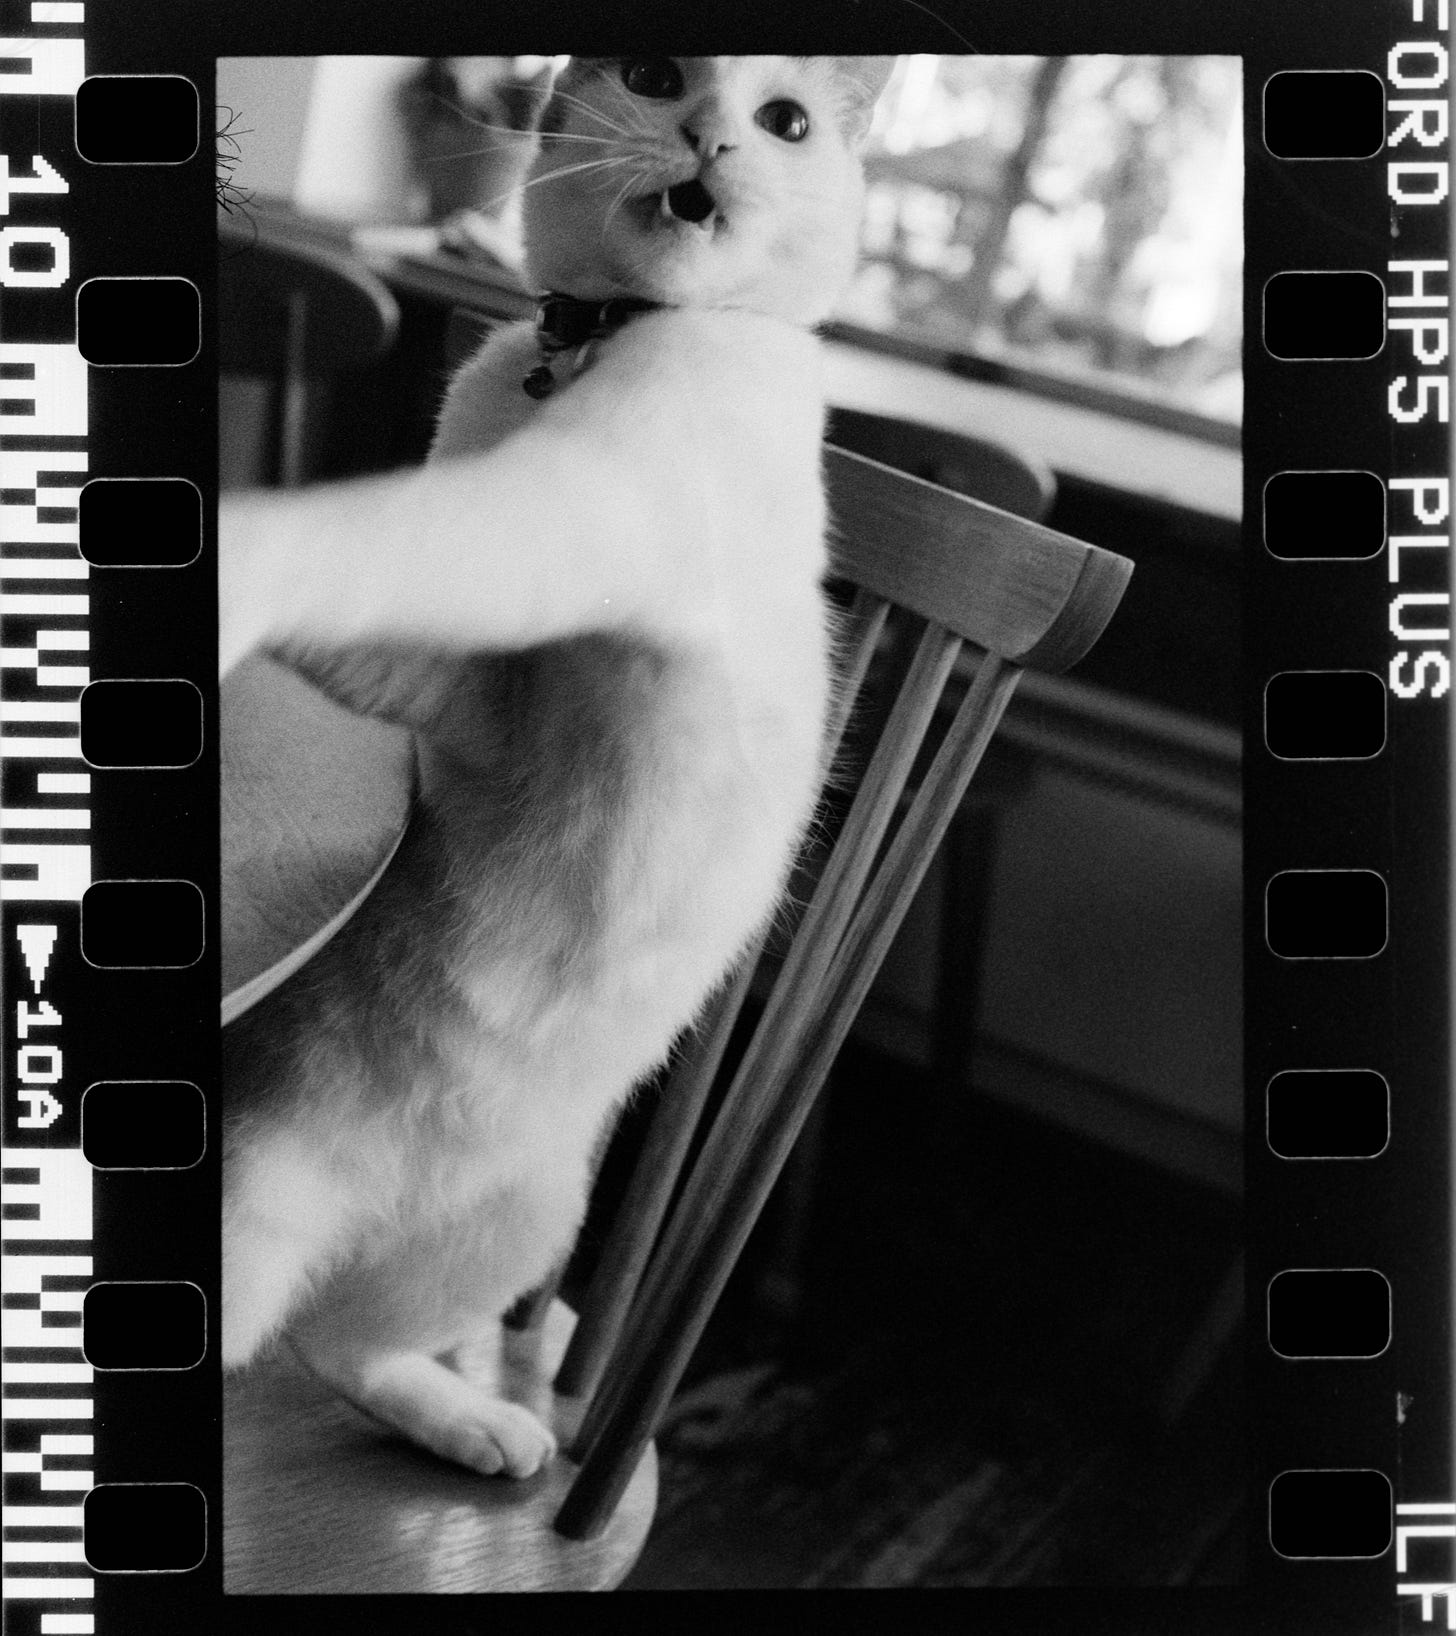
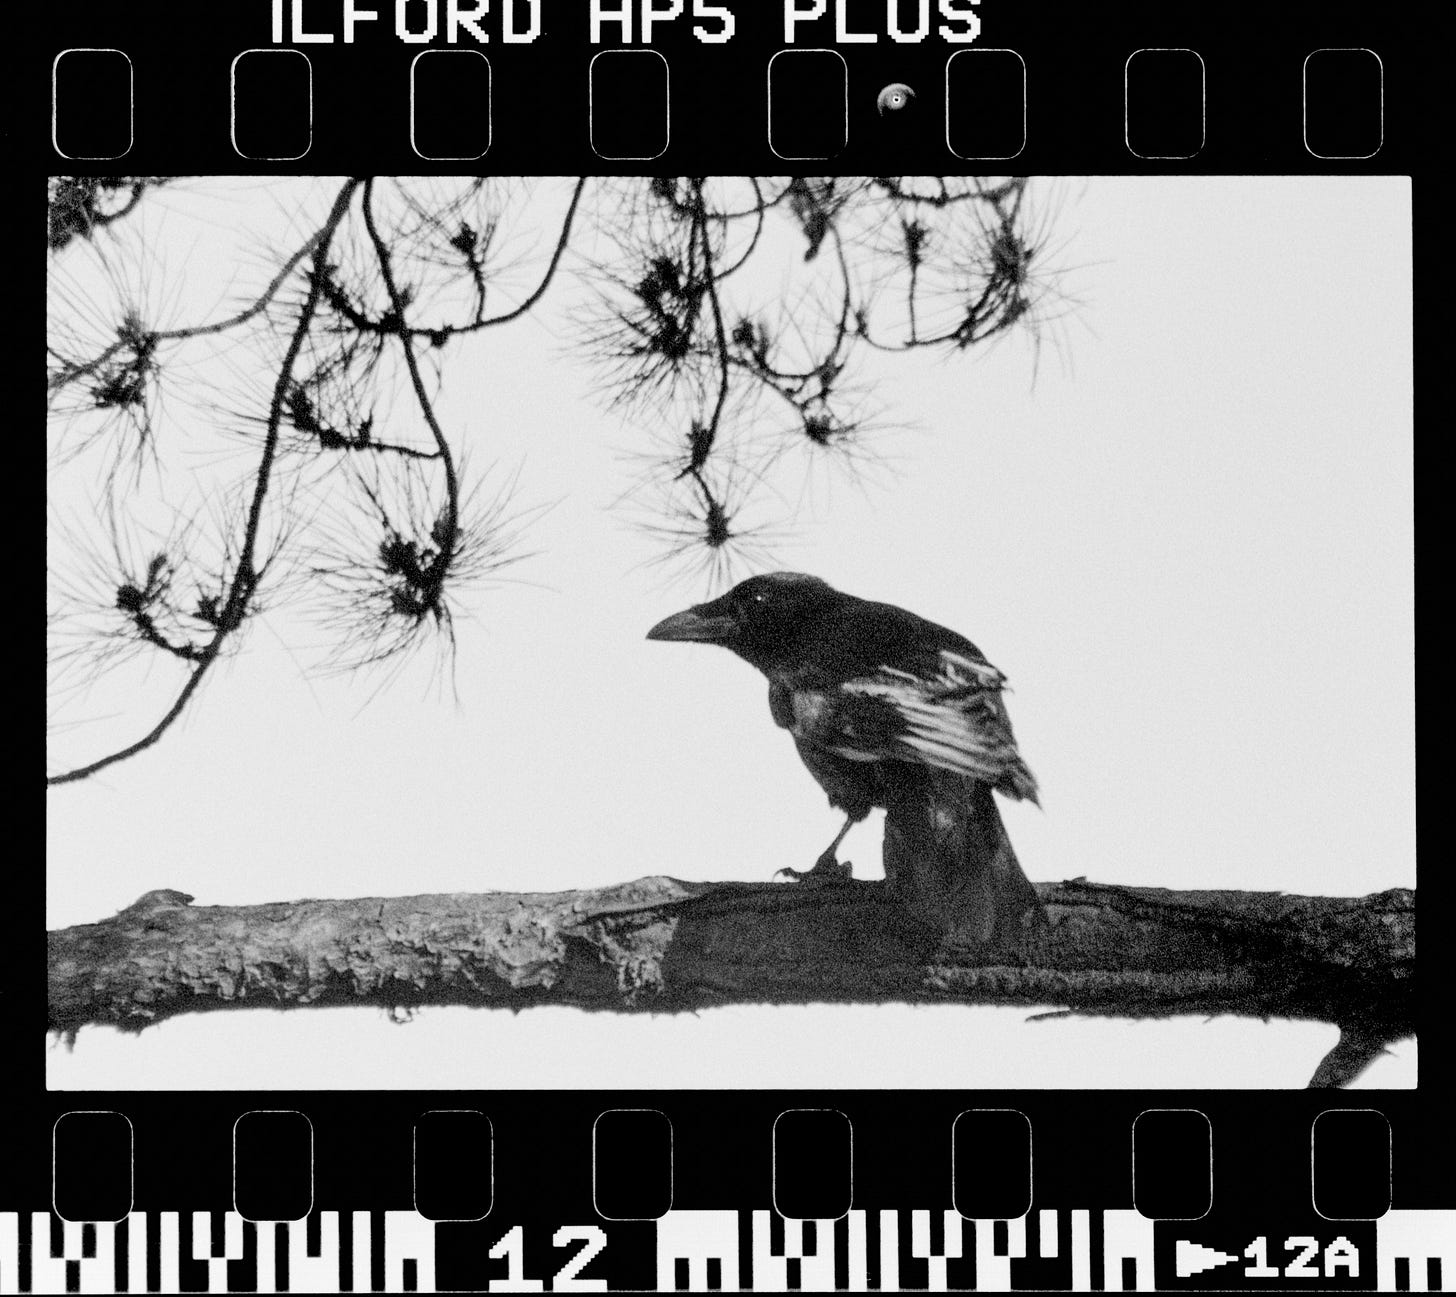
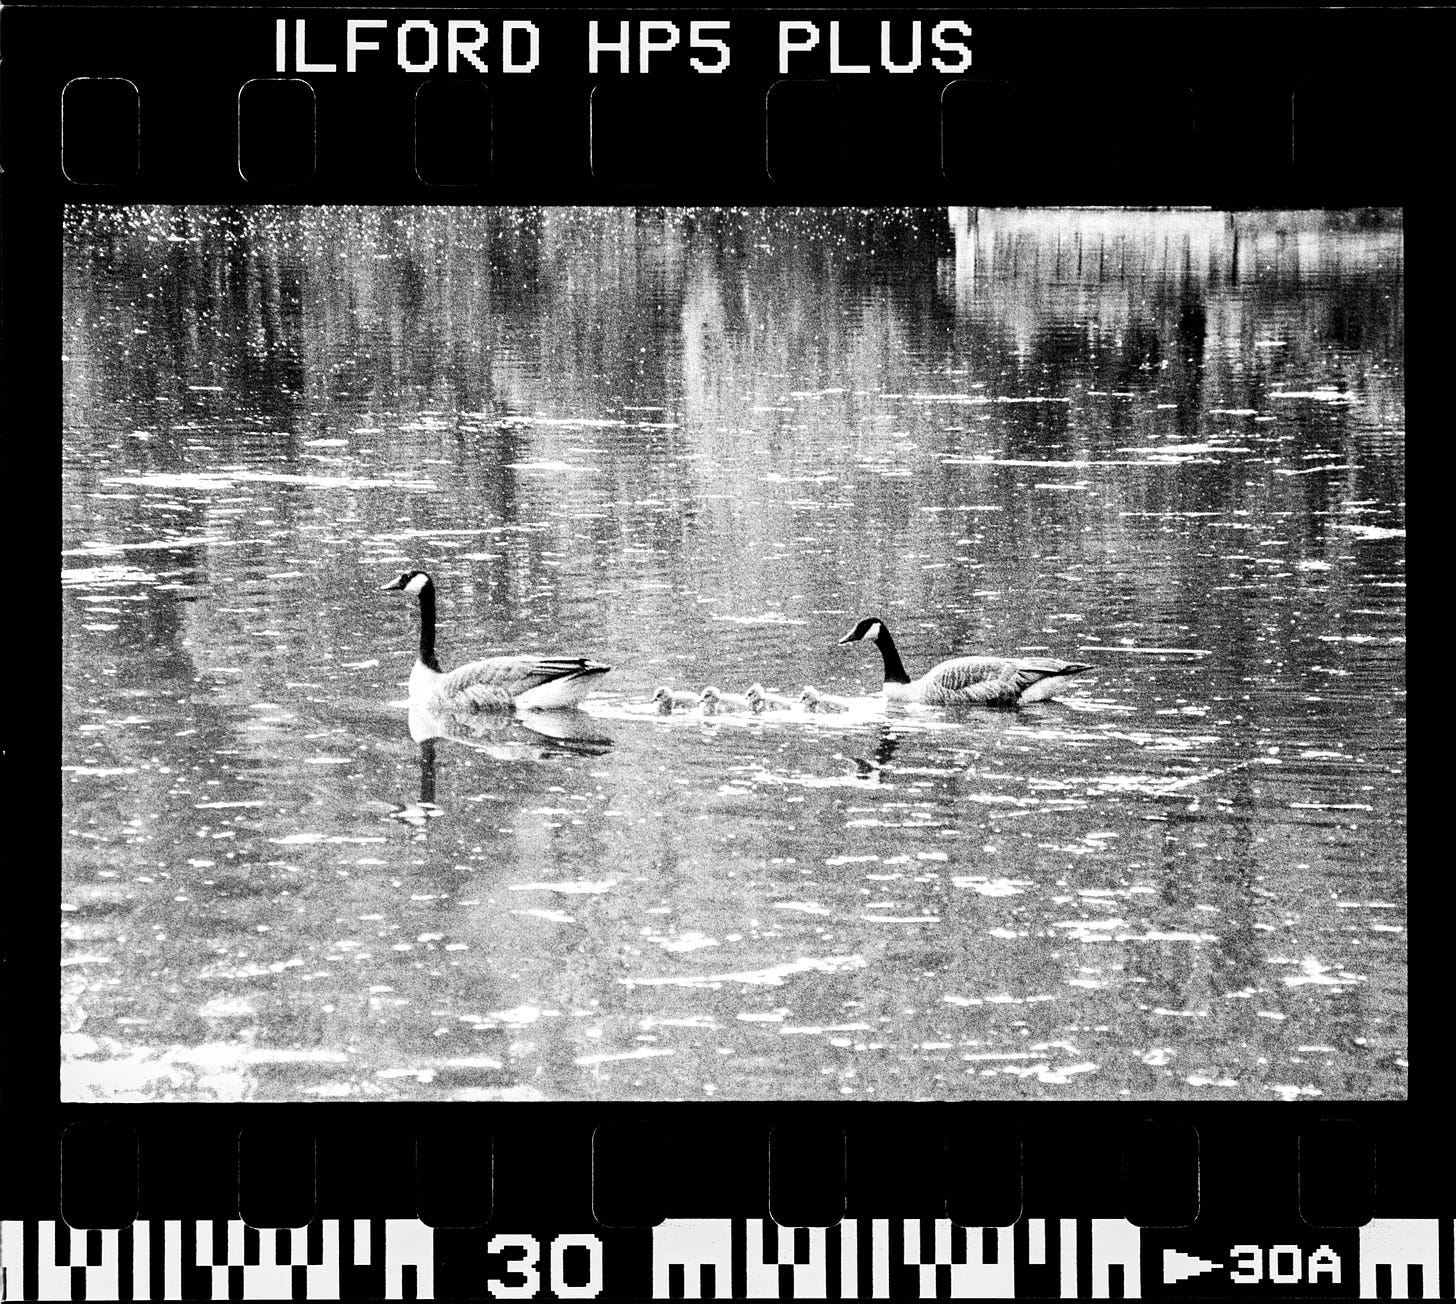
Bonus track: wildlife on HP5+ pushed 2 stops.
Finally, a word on printing.
Ever since I got into darkroom printing, I made it the end game of those very rare instances in which I capture something I consider “good enough for a print”. Evidently, having a nice negative to print is an essential part of the process. Then, how does this combo render darkroom prints? Well, I'm not an expert by any means, but I can say that I have never had any problem printing and using this set, and with enough dodge and burn, I have always managed to get a print I am happy about, so I wouldn’t doubt if this is also your end game.
Until the next one!
Álvaro Alberto
Boring and unnecessary technical details
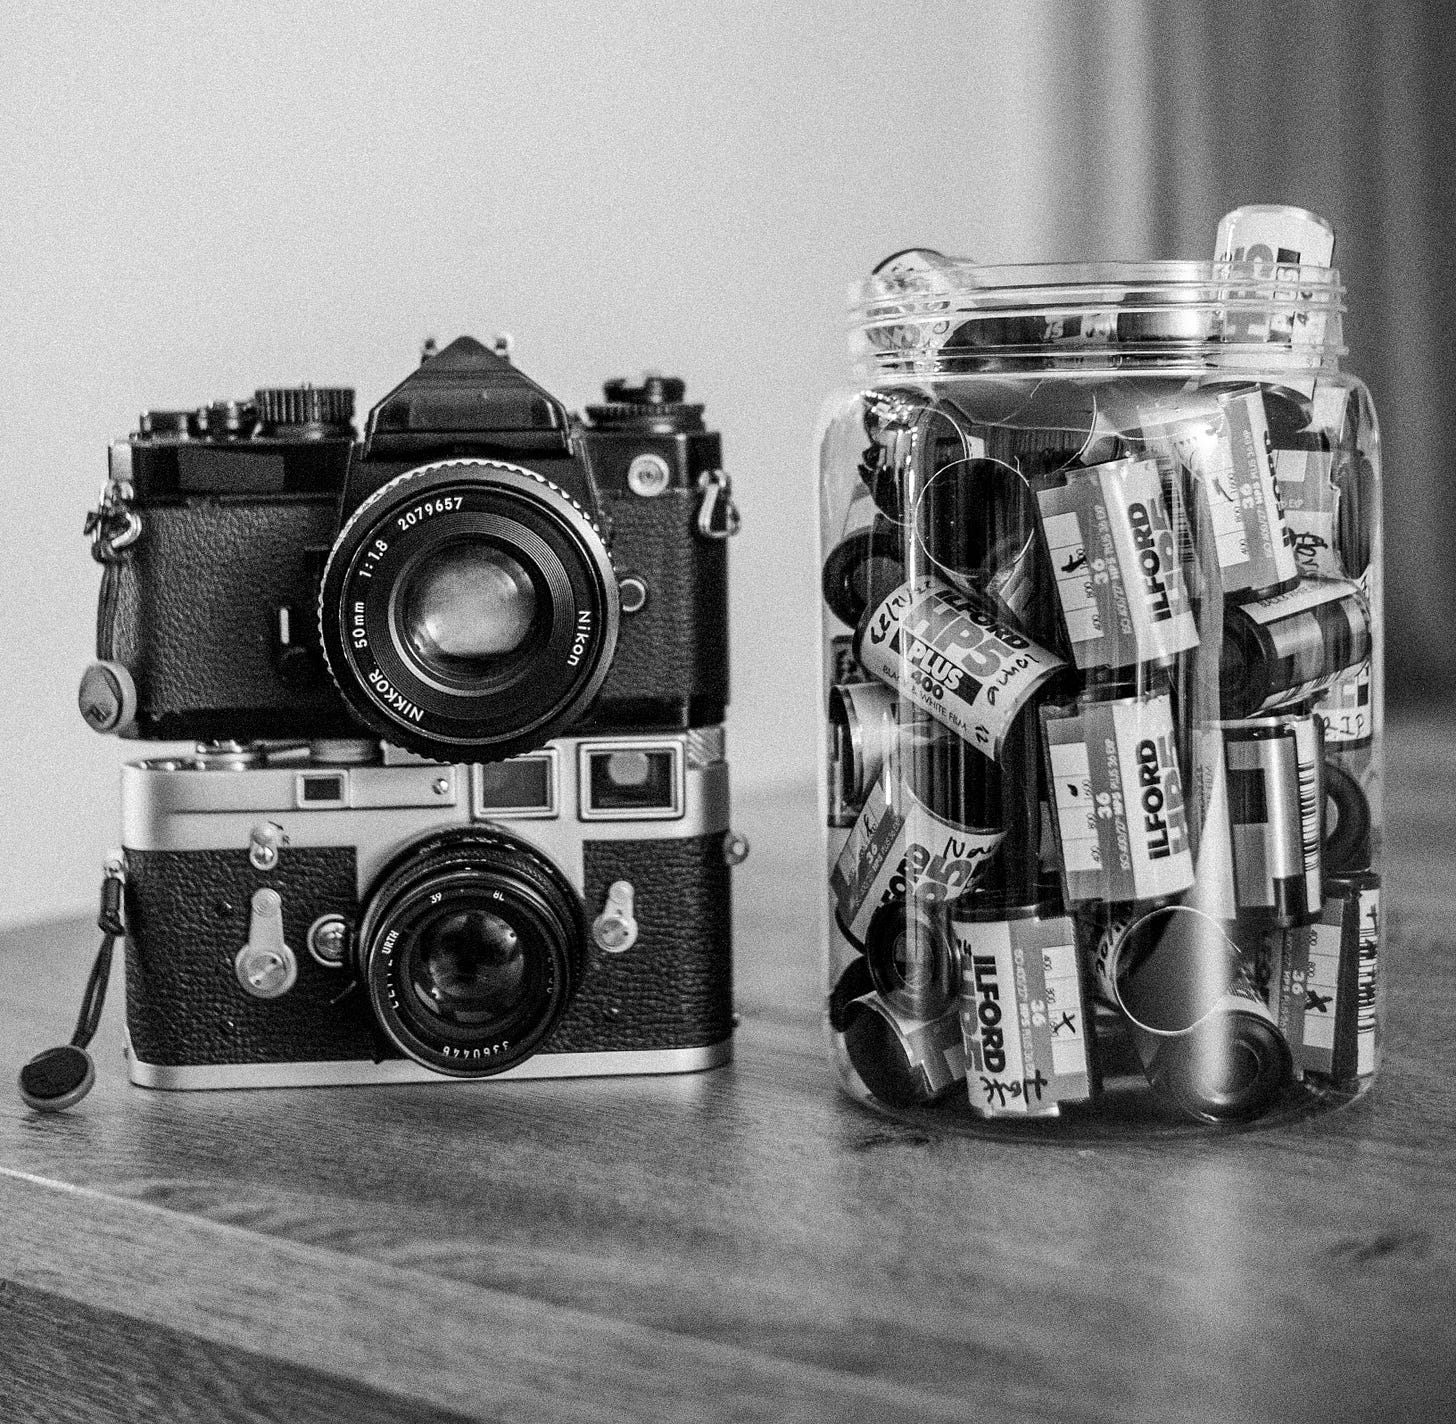
All photos were taken using Nikon lenses. Primarily the Nikkor 50mm f/1.8 ai-s and the Nikkor 85mm f/1.4 ai-s. The negatives were DSLR scanned with a macro lens plus the Essential Film Holder and then inverted using the free software Darktable. All the processing and editing (for good or for bad) was done by me. All the film, chemicals and most of my darkroom equipment were bought and timely delivered by my trusty friends at @oldcamshop.
I wrote this a while back, even before I started messing around with Rangefinder cameras. Now, I can get indoor shoots using ISO 200, leaning on a wall (or something stable) at 1/4 of a second. I know, weird flex, but it is true, I swear!
I also used ILFORD DELTA 3200 from time to time. Also, with great results when processing on DDX and over-exposing one-stop, but this is for another day.











Great shots, Alvaro. Like them a lot.
I enjoyed this - I would have also just developed the roll and hoped for the best. I'm sorry you did not guess correctly but am amazed you were able to recover what you did!